26 September 2026 · 12 min read
How to Add Watermark to Video: Tools and Tips That Work
Learn how to add watermark to video with practical steps, positioning tips, batch processing tricks, and free vs paid tool comparisons for creators.
You can spot the problem right away. A clip is ready to post, the brand logo is sitting in a folder, and the last thing you want is for the export to land unbranded, cropped badly, or so heavy-handed that people stop watching. The tricky part of how to add watermark to video isn't dropping a logo on top, it's deciding how visible that logo should be, where it can survive across feeds, and whether a visible mark is even the right protection for the job.
Table of Contents
- Why Creators Watermark Their Videos in 2026
- Preparing Your Watermark Asset the Right Way
- Adding a Watermark in a Video Editor
- Batch Watermarking With FFmpeg
- Adapting Watermarks for Vertical, Square, and 16 - 9 Exports
- Do Visible Watermarks Still Protect Your Content
- Watermark Checklist Before You Publish
Why Creators Watermark Their Videos in 2026
A typical creator day now starts with too many versions of the same video. One cut is headed for Shorts, one for Reels, one for TikTok, and a clean 16:9 export is still needed for YouTube or a client review. In that pile, a watermark isn't just decoration, it's a practical signal that helps people remember who made the clip when captions are muted and audio is off.
Brand recall is the first reason watermarks stick around. Short-form feeds move fast, many viewers skim without sound, and a small, steady mark can keep a logo visible long enough to matter. It also helps when a clip gets picked up by an aggregator or reposted without context, because the source is still attached to the frame.
Practical rule: a watermark should support recognition, not compete with the subject.
Sponsors can also ask for persistent branding, especially when they want a logo present in every deliverable. That's where the trade-off gets real. A louder mark protects identity better, but it can hurt viewing experience. A softer mark is easier to watch, but it's also easier to crop, blur, or ignore.
The rest of the workflow comes down to three choices. First, prepare the asset properly. Second, place it in an editor without breaking transparency. Third, adapt it for vertical, square, and horizontal exports so the same brand mark doesn't fail the moment a platform reframes the shot.
Preparing Your Watermark Asset the Right Way
The most common mistake is starting with a low-quality logo saved off a website and hoping it survives every export. It rarely does. A proper watermark asset should be a transparent PNG at the highest clean resolution you have, so the edges stay crisp when the frame is scaled down or repurposed across formats.
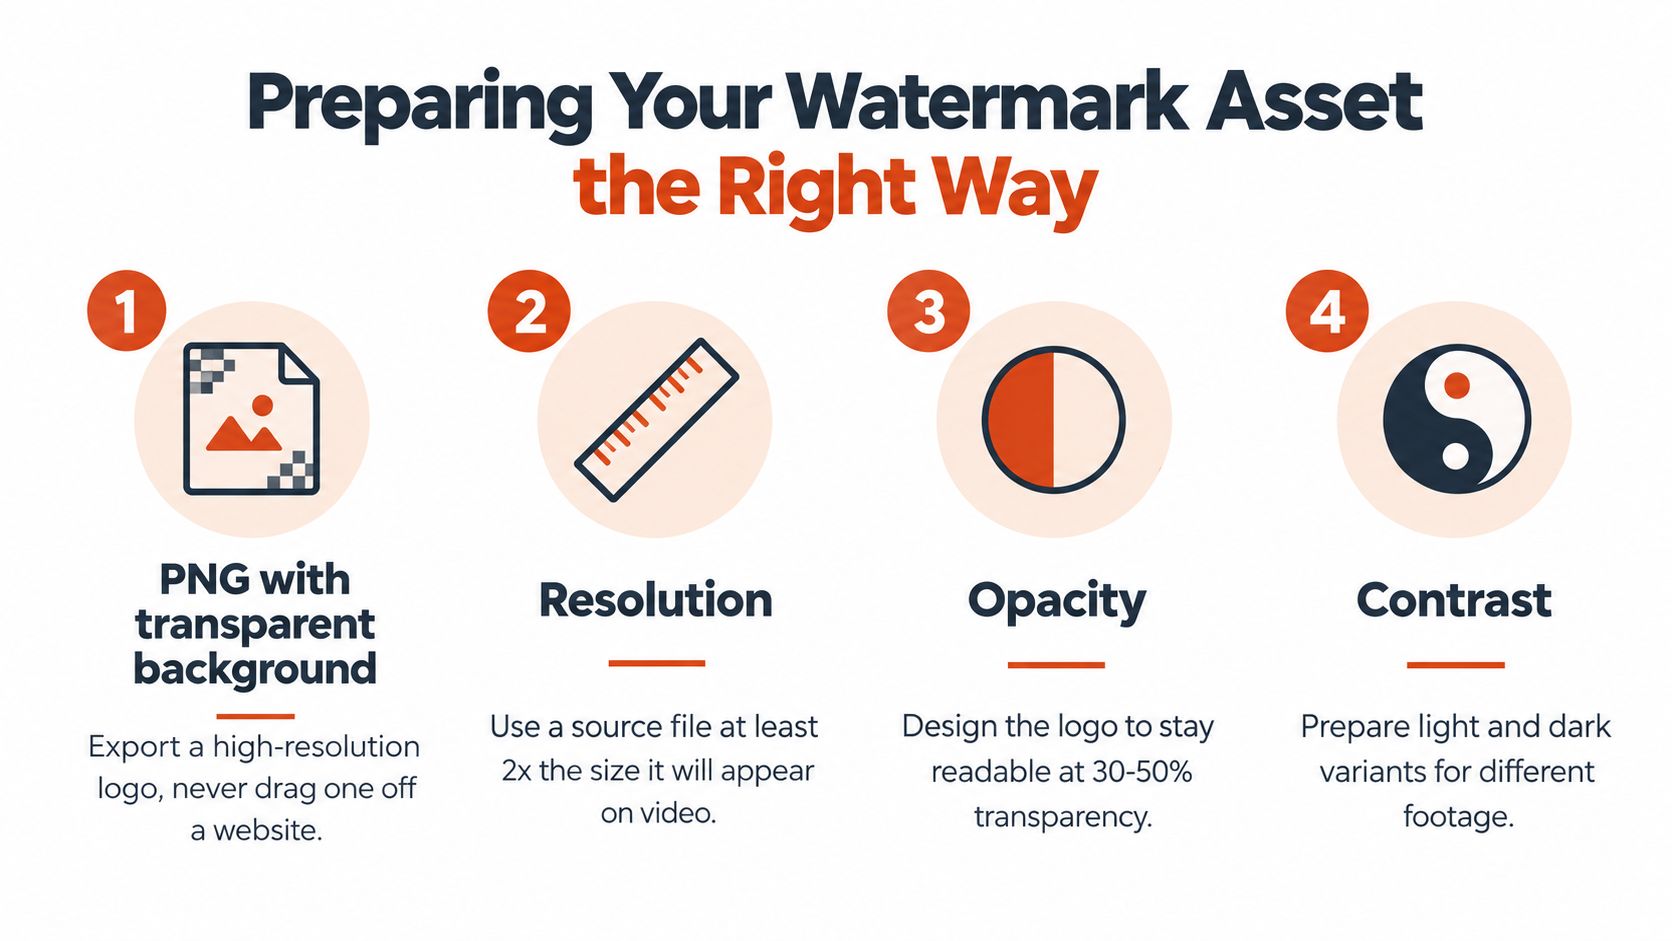
Pick the right file type first
SVG is useful when your design team can hand you a vector logo, because it stays clean at any size. In many creator workflows, though, a high-resolution PNG is enough and easier to reuse across editors and batch jobs. The key is the alpha channel, because transparency is what keeps the watermark from looking like a pasted sticker.
Think about safe space, not just size
Keep the important part of the logo inside a padded border. That matters when one master has to survive a square crop, a vertical reframing pass, or a platform UI bar sitting near the edge. A mark that looks fine in the editor can end up clipped in the final export if it was designed too close to the frame boundary.
Contrast matters too. White marks often need a subtle shadow on bright footage, while dark marks need some separation on light backgrounds. If a channel is getting consistent usage, it's usually smarter to maintain a full logo version and a simpler monogram version so you can switch without rebuilding the asset every time.
Working rule: if the logo looks good only on one kind of footage, it isn't ready yet.
Avoid rasterizing your text directly in a quick editor text tool if you plan to reuse it often. You'll get less flexibility later, especially when you need one version for a 16:9 export and another for a vertical cut. A clean source asset saves time every time the video pipeline changes.
Adding a Watermark in a Video Editor
Start here because this is the fastest path. Import the transparent PNG, put it on a layer above the main footage, then scale and place it in a corner with consistent padding. In practical terms, a good starting point is a small mark that doesn't pull focus, then a test render on an actual phone screen before you lock it in.
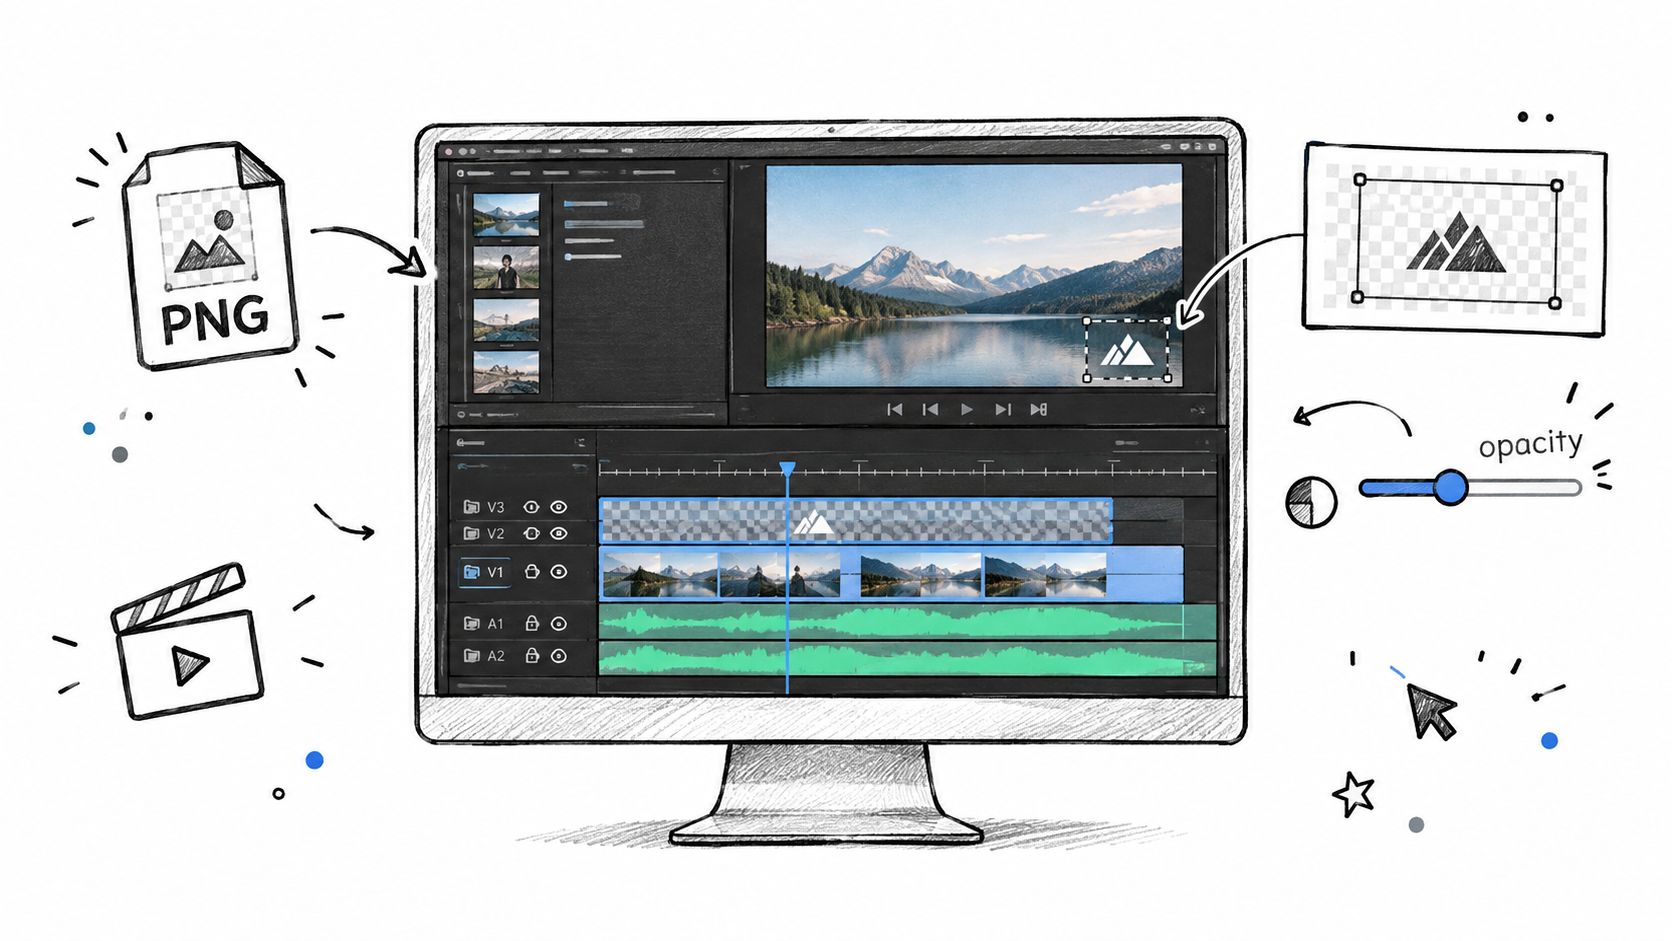
Free desktop editors, online editors, and paid suites all handle the same basic move, but they differ in how much control they give you. A free tool can be fine for a handful of exports, especially when you just need a quick overlay. Paid tools tend to handle repeated work better, particularly if you're moving between formats or need better control over transparency, position, and export settings.
Opacity is where most creators either go too hard or too soft. A full-strength logo reads like advertising, while a restrained overlay feels more like ownership and attribution. The right level depends on footage brightness, motion, and whether the clip is meant to feel polished or personal.
A short intro or outro animation can reinforce the brand, but it's easy to overdo. If your viewers are returning to the same format every day, a static mark usually causes less friction. If the clip is part of a branded series or a sponsor deliverable, a brief animation can make the watermark feel intentional instead of incidental.
For creators who want to pair editing with other production steps, the workflow around AI tools for YouTubers often includes logging clips, generating captions, and preparing exports in the same pass. That's where a watermark should fit cleanly into the edit rather than becoming a separate afterthought.
The main pitfall is export flattening. Some editors preserve transparency perfectly in the timeline but crush the overlay on render if the wrong codec or alpha setting is chosen. That's why the test export matters so much, especially before you send the same setup to a batch of ten or twenty clips.
Batch Watermarking With FFmpeg
FFmpeg makes sense once watermarking stops being a one-off task. If you're exporting a series, a client batch, or a folder full of social clips, the command-line route keeps the watermark consistent without reopening the timeline every time. The reliable setup is simple, first confirm the PNG has transparency, then scale it to fit the source, then test on a short clip before you let the same command run across the whole folder.
The alpha channel matters here. FFmpeg workflows commonly use format=rgba before colorchannelmixer=aa=... because the mark needs an alpha channel before opacity can be adjusted, and then overlay composites it over the base video. If you feed it a JPEG and expect transparency, the result won't behave the way you want.
A quick test clip saves you from finding out too late that the logo is too large, too faint, or too close to the edge.
The other mistake is forgetting that a watermark sized for one resolution can look oversized on a smaller source. If you designed the asset for 1920x1080 and then push it onto a 1280x720 file without adjusting scale, the mark can dominate the frame. For batch work, that's why the scaling rule matters as much as the overlay itself.
When you move beyond a single file, a loop becomes the practical step. Re-encoding with a codec like libx264 gives you a consistent result across the folder, while stream-copying only makes sense when no visual change is needed. Quality settings still matter because the final render can soften text edges or make transparency look rough if the encode is too aggressive.
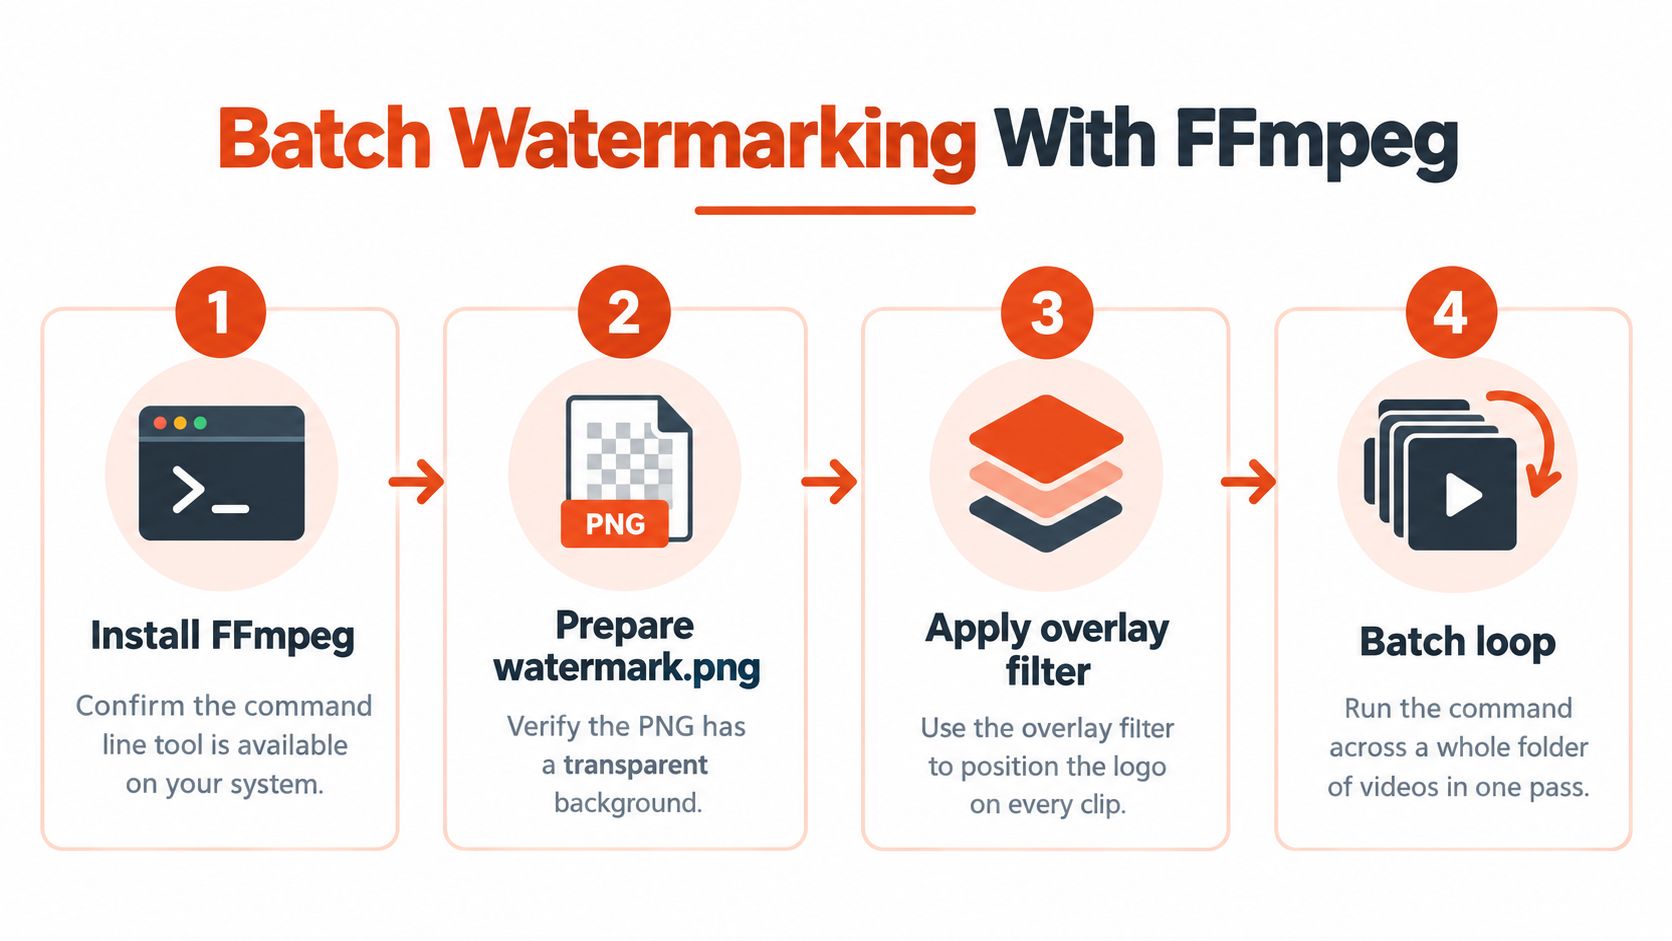
This is the place where command-line work beats manual editing. Once the overlay is right, the same filter chain can be reused across a folder of clips without redoing placement every time. For creators who already work in automation-heavy workflows, AI subtitle maker often sits in the same production lane, because captions, crop choices, and watermark positioning all need to survive the same export.
Adapting Watermarks for Vertical, Square, and 16 - 9 Exports
A single fixed watermark rarely survives across formats without compromise. A logo that sits neatly in the lower-right corner of a 16:9 export can disappear in a 9:16 crop or sit awkwardly over the subject in a square frame. Once you start repurposing one master for multiple feeds, aspect ratio becomes a design decision, not just an export setting.
Why one placement won't work everywhere
Vertical platforms such as TikTok and Reels keep interface elements near the bottom, so a lower-corner watermark can clash with UI or get visually crowded. A centered watermark can survive the crop better, but it can also feel heavy on vertical footage because it competes with the speaker or action. Square outputs usually give you a little more room, but they still punish marks that were positioned too close to the edges in the original cut.
Build separate variants for separate outputs
The cleanest workflow is to create three PNG variants, one for vertical, one for square, and one for 16:9. That way the mark's size and placement can be tuned for each frame instead of being forced through a single compromise overlay. Treat each aspect ratio as its own render job with its own coordinates, because the crop is part of the composition, not a cleanup step after the fact.
| Aspect Ratio | Recommended Position | Mark Width | Platform Note |
|---|---|---|---|
| 9:16 | Upper corner or mid-upper safe zone | Small to medium | Avoid the bottom UI area |
| 1:1 | Corner with moderate padding | Small | Keep clear of the subject's face or hands |
| 16:9 | Lower or upper corner with edge buffer | Small | Works best when the frame has open negative space |
For teams producing a lot of repurposed content, workflow discipline beats improvisation. If you're already maintaining separate output paths, the same logic applies to other publish-ready assets, including the clip packaging used in send video by email workflows. The more specific the export target, the less likely the watermark will fail on arrival.
Do Visible Watermarks Still Protect Your Content
Visible watermarks still have a job, but it's narrower than many guides admit. They help with brand recognition, they create a soft deterrent for casual reposts, and they give aggregators something to attribute when clips get scraped. That's useful, but it isn't the same as real protection.
They're easy to remove when someone is determined. A screen recording strips the mark out immediately, and crop or blur techniques can erase it in editing. In modern short-form distribution, visible watermarks are more like a branding layer than a security system.
If a viewer can capture the clip cleanly, the watermark is a signal, not a lock.
That's why provenance tools matter. Visible marks and metadata-based approaches solve different problems, and they work best together. C2PA content credentials are designed to travel as tamper-evident metadata, while platform-native matching tools can catch reuploads without relying on a logo in the frame.
In practice, that means you should choose the visible mark for discoverability and use provenance for accountability. If theft is the concern, a watermark alone isn't enough. If branding and attribution are the goal, a well-placed visible mark still earns its place.
Watermark Checklist Before You Publish
Before you export, make the watermark pass the same kind of review you'd give a final cut. Confirm the asset format is transparent, the size matches the output ratio, and the placement won't block the subject or fight the platform UI. Then run a short test export and check it on a phone, because that's where edge cases show up first.
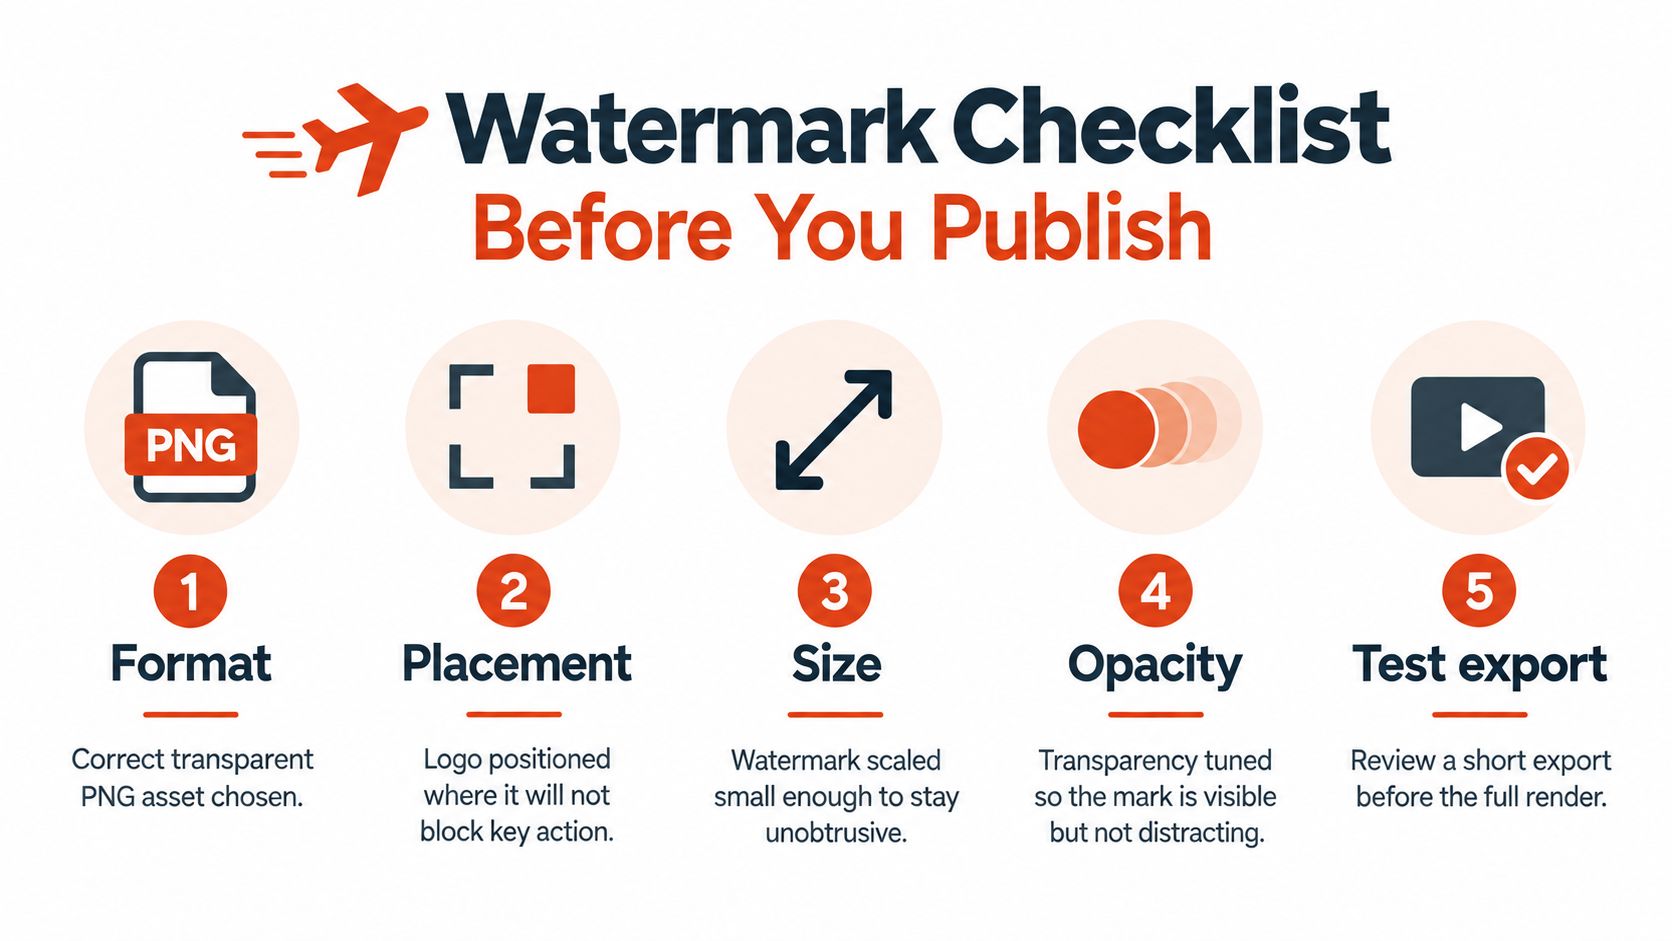
If you're handling a lot of clips, batch processing is usually the better call. If you're exporting something sensitive or highly branded, it's worth checking whether a visible watermark is enough or whether provenance tools should accompany it. That judgment is the core publishing decision, not just where the logo sits.
For creators and teams who want a clean way to package long recordings into clipped, captioned exports, Keptbits turns source videos into short outputs for vertical and square feeds, with a free plan that includes a watermark and a Pro plan that removes it. If you're already thinking about watermark placement, export variants, and platform fit, it's worth visiting Keptbits and seeing how the rest of the clip workflow can line up with that publishing step.
Keptbits cuts on sentence boundaries.
Paste a link or upload an episode, say how many clips you want, and get them back captioned and vertical. The free plan needs no card.
Start freeRead next
10 Video Editing Tools Online for Faster Content
Compare 10 video editing tools online for captions, automation, free tiers, aspect ratios, collaboration, and practical browser-based workflows.
That's a Good Deal: How to Evaluate True Value
Wondering if that's a good deal? Learn how to evaluate true value, decode pricing models, and spot the difference between a bargain and a trap.
10 Vertical Video Editor Tools Compared
Compare 10 vertical video editor tools for reframing, burned-in captions, and Shorts, Reels, and TikTok export workflows.